
Remotion Agent Skills are a set of instruction files that teach Claude Code how to write Remotion videos that actually render: which hooks drive animation, how to lay out a timeline, when to open the preview, and when not to render yet.
We used them to cut a 33-second movie trailer with Claude Code and Opus 5.5. The stars, a ginger cat and a corgi, came from image and video models; Remotion handled the title cards, letterbox, subtitles, sound, and grain. Model costs came to $3.55 and the final render took 41 seconds. Below are the exact commands, the prompts, and the errors we hit.
New to the idea of Claude making video at all? Start with can Claude make videos, which compares Remotion with HyperFrames and video models.
How we tested: Claude Code with Claude Opus 5.5 on an Apple M4 laptop, with Remotion 4.0.535 and Node.js 25.7. Costs are the amounts billed per task.
What You Need Before You Start
| Requirement | Notes |
|---|---|
| Node.js | We used 25.7. Remotion bundles its own FFmpeg. |
| Claude Code | Needs a paid Claude plan or API credits. Opus 5.5 wrote every scene in this test. |
| Remotion license | Free for individuals and companies of up to 3 people. Larger companies need a company license. |
| Disk space | About 1 GB per project: the first render downloads Chrome Headless Shell (570 MB) into node_modules. |
| Footage and voice | Your own clips, or a Modellix API key to generate them in Step 2. |
Step 1: Create a Project and Install the Skills
Run these in an empty folder:
npx create-video@latest --yes --blank my-video
cd my-video
npx skills add remotion-dev/skills
The scaffold installs 355 packages, which took 40 seconds on one run and 3 minutes on another. The skills command copied 12 skills into .claude/skills, so they load whenever you start Claude Code in this folder. You do not call them by name; Claude picks the right one.
| Skill | What it teaches Claude |
|---|---|
| remotion-best-practices | The router: which skill to load for each request |
| remotion-create | Scaffolding, layout sizes, and opening Studio first |
| remotion-markup | Animation, media, sequencing, voiceover, transitions |
| remotion-captions | Transcribing audio and displaying captions |
| remotion-studio / remotion-render | Previewing, and rendering only when asked |
| remotion-docs | Searching the Remotion docs as Markdown |
The other six cover maps, multimedia, interactivity, SaaS apps, upgrades, and the docs router.
Step 2: Generate the Cast, Shots, and Voice
Remotion arranges footage; it does not make any. For the trailer we needed five shots with the same two animals in each, plus a narrator. We installed the Modellix Agent Skill so Claude Code could call image, video, and voice models with one key:
npx skills add https://github.com/Modellix/modellix-plugin --skill modellix-design
npm install --global modellix-cli@latest
export MODELLIX_API_KEY="your_api_key"
We wrote the shots and voice lines into a storyboard.md, then gave Claude one prompt:
Use the modellix-design skill and storyboard.md. Run at most 2 tasks at a time and report the cost of each.
1. With google/nano-banana-2, make a cast photo: a fluffy ginger tabby cat with green eyes and a tricolor corgi with a red collar, side by side on a kitchen floor.
2. With google/nano-banana-2-edit and that cast photo as the reference image, make one 21:9 keyframe per shot in the storyboard. Same cat and dog in every frame.
3. Animate each keyframe with bytedance/seedance-2.0-fast-i2v: 5 seconds, 720p, 21:9, generate_audio true.
4. Read each voice line with minimax/speech-2.8-turbo, voice English_magnetic_voiced_man, speed 0.88, one MP3 per line.
Save the clips to public/shots and the voice lines to public/vo.

The cast photo is what keeps the animals consistent. Every keyframe is an edit of it, and every clip starts from its keyframe. Claude ran commands like these:
# keyframe from the cast photo
modellix-cli model run --model-slug google/nano-banana-2-edit \
  --body '{"prompt":"Cinematic film still: the ginger tabby cat from the reference photo sits on a rainy windowsill at night...","image":["<cast photo url>"],"aspectRatio":"21:9","imageSize":"2K"}' \
  --wait --timeout 10m --json

# clip from the keyframe, with sound
modellix-cli model run --model-slug bytedance/seedance-2.0-fast-i2v \
  --body '{"first_frame_image":"<keyframe url>","prompt":"The ginger cat slowly narrows its eyes, its tail flicks once. Lightning flashes behind the rainy window.","ratio":"21:9","resolution":"720p","duration":5,"generate_audio":true}' \
  --wait --timeout 15m --json
| Step | Model | Output | Time per task | Billed |
|---|---|---|---|---|
| Cast photo + empty-kitchen frame | Nano Banana 2 | 2 images, 2K | 18 s | $0.18 |
| Four keyframes from the cast photo | Nano Banana 2 Edit | 4 images, 21:9 | 17 to 20 s | $0.36 |
| Five shots with sound | Seedance 2.0 Fast I2V, 720p | 5 clips, 5 s each | 102 to 147 s | $3.00 |
| Five voice lines | MiniMax Speech 2.8 Turbo | 5 MP3s, 2 to 3.5 s | 1.4 to 2.9 s | $0.01 |
| Total | 16 tasks | $3.55 |
One Modellix key covered all three model families, all 16 tasks succeeded on the first submit, and each task returned its billed amount, so the whole cast, five shots, and narrator cost $3.55.
The five clips took about 6 minutes in total, two at a time. Download results as soon as tasks finish: Modellix result links expire after 7 days, and the provider links inside the task data expire sooner.
Need a different look for your own film? These four shot types from our AI movie maker guide work with the same pipeline. Copy a prompt into your storyboard before you move on to the edit:
Copy any prompt below and try it yourself in the Seedance 2.0 T2V playground. Generated on Modellix: 5 seconds, 720p.
Cinematic trailer shot
“Cinematic sci-fi trailer shot: an astronaut in a weathered suit walks toward a crashed ship on a red desert planet under two moons, anamorphic lens flare, slow dolly-in, subtle film grain, deep rumbling score.”
Multi-shot storytelling
“Shot 1: close-up of a chef's hands plating a dessert. Shot 2: wide shot of the busy restaurant kitchen. Shot 3: the chef looks up and smiles at the camera. Warm cinematic lighting.”
Product commercial lighting
“A minimalist unbranded steel wristwatch with a plain white dial rotates on a black glass pedestal while water droplets fall in slow motion, crisp specular highlights, macro commercial lighting. No logos, no text.”
Graceful character motion
“A contemporary dancer in a loose white shirt turns and leaps across an empty sunlit studio, fabric moving with each spin, dust drifting through beams of light, smooth orbiting camera.”
Step 3: Prompt Claude Code to Cut the Trailer
With the clips in public/, start Claude Code in the project folder. The skills set four rules worth knowing before you prompt:
- Studio opens first. Claude starts
npx remotion studioand builds while you watch the preview. - No render until you ask. "Make a video" means a preview. Say "render" or "export the MP4" when you want a file.
- Frame-driven motion only. Animations use
useCurrentFrame()andinterpolate(), because CSS transitions do not render. The film grain changes its noise seed by frame number for the same reason. - One JSX node per clip. Each card and shot stays separately editable on the Studio timeline.
This was the prompt. Give it the timeline in seconds, the frame size, and the style:
Use the Remotion skills in this project. Build a 33-second movie trailer, 1920x1080 at 30 fps, composition id "LastTreat". The clips in public/shots/ are 21:9, so letterbox them.

Timeline: black card "A STORM IS COMING" (2 s), shot 1 (4.5 s), card "ONE CAT" (1.2 s), shot 2 (4 s), card "ONE CORGI" (1.2 s), shot 3 (4 s), card "ONE LAST TREAT" (1.4 s), shot 4 (5 s), title "THE LAST TREAT" with the tagline "ONE JAR. NO MERCY." (3 s), shot 5 (4 s), end card "COMING SOON / TO A KITCHEN NEAR YOU" (2.5 s).

Cards: Cinzel, wide letter spacing, cream on black, with public/sfx/hit.mp3 on every card. Put voice lines vo1 to vo4 over shots 1 to 4 and vo5 over the title, each with a subtitle in the bottom letterbox bar. Keep each clip's own sound under the voice. Add subtle film grain.

Claude wrote a reusable Shot component and placed each clip with its voice line, subtitle, and a trimmed start. The first half second of an image-to-video clip is close to the still keyframe, so we trimmed 0.6 to 0.8 seconds off three of them:
<TransitionSeries.Sequence name="Shot 2: the cat" durationInFrames={4 * fps} premountFor={fps}>
  <Shot
    src="shots/s2.mp4"
    trimBefore={0.6}
    vo="vo/vo2.mp3"
    voFrom={0.3}
    voDuration={1.99}
    line="one cat had a plan."
  />
</TransitionSeries.Sequence>
Studio edits write back to your source files. Moving a clip or clicking "Add Solid" changes the TSX on disk. Review git diff before the next prompt, or Claude may build on a change you did not mean to make.
Step 4: Time the Voice and Subtitles
We generated one voice clip per line instead of one long take. Each file's length is an exact cue point, so a subtitle appears when its line starts and fades when it ends, with no transcription step. Remotion's voiceover rule defaults to ElevenLabs and asks for that key; naming the model in your prompt avoids the question.
Two mixing choices made the voice readable: each clip's own sound plays at 35% under a voice line and 60% without one, and every title card gets the same low hit.
Step 5: Render the MP4
Check a few stills first. Claude can read the PNGs, which is the closest it gets to watching the video:
npx remotion still LastTreat out/check.png --frame=640
npx remotion render LastTreat out/the-last-treat.mp4
On an Apple M4 the full render took 41 seconds at 5x concurrency: 984 frames, 1920 x 1080, H.264 with AAC audio, 14 MB.

Models used in this trailer
Nano Banana 2Nano Banana 2 EditSeedance 2.0 Fast I2VMiniMax Speech 2.8 TurboAll video models →
Troubleshooting Remotion Agent Skills
| Symptom | Cause | Fix |
|---|---|---|
| "No matching skills found for: modellix" | The Modellix skill was renamed in plugin v4.0.0 | Use --skill modellix-design |
| Every rendered frame is solid gray | Studio's "Add Solid" wrote a full-frame Solid into the composition | Delete it from the TSX file; check git diff after Studio edits |
| Claude asks for an ElevenLabs key | The voiceover rule's default provider | Name the text-to-speech model you want in the prompt |
| Characters change between shots | Each text-only clip invents its own animal | Make a cast photo, then build each keyframe from it |
| Clips start with a frozen frame | Image-to-video starts on the still keyframe | Trim 0.5 to 1 second with trimBefore |
| Project folder near 1 GB | Chrome Headless Shell and FFmpeg in node_modules |
Keep node_modules out of Git (the scaffold does) |
Generate the shots for your Remotion video
Create a Modellix key and let Claude Code make keyframes, clips, and voice lines for your composition, billed per task.
Get API KeyFrequently Asked Questions About Remotion Agent Skills
What are Remotion Agent Skills?
Official instruction files from Remotion that coding agents load on demand. They cover project setup, animation rules, captions, Studio, rendering, and the Remotion docs. Install them with npx skills add remotion-dev/skills.
Do Remotion skills work outside Claude Code?
Yes. Remotion names Claude Code, Codex, Kimi Code, and Cursor as agents that can use them.
Is there a Remotion MCP server?
The skills include a docs skill that fetches Remotion documentation as Markdown, and Remotion Studio supports WebMCP tools. For most video work, the skills are enough.
Do I need to know React?
It helps for reviewing what Claude writes. In our test, Claude wrote all 233 lines; the work on our side was the storyboard and checking stills.
Is Remotion free?
For individuals and companies of up to 3 people, yes. Larger companies need a company license from remotion.pro.
Related articles
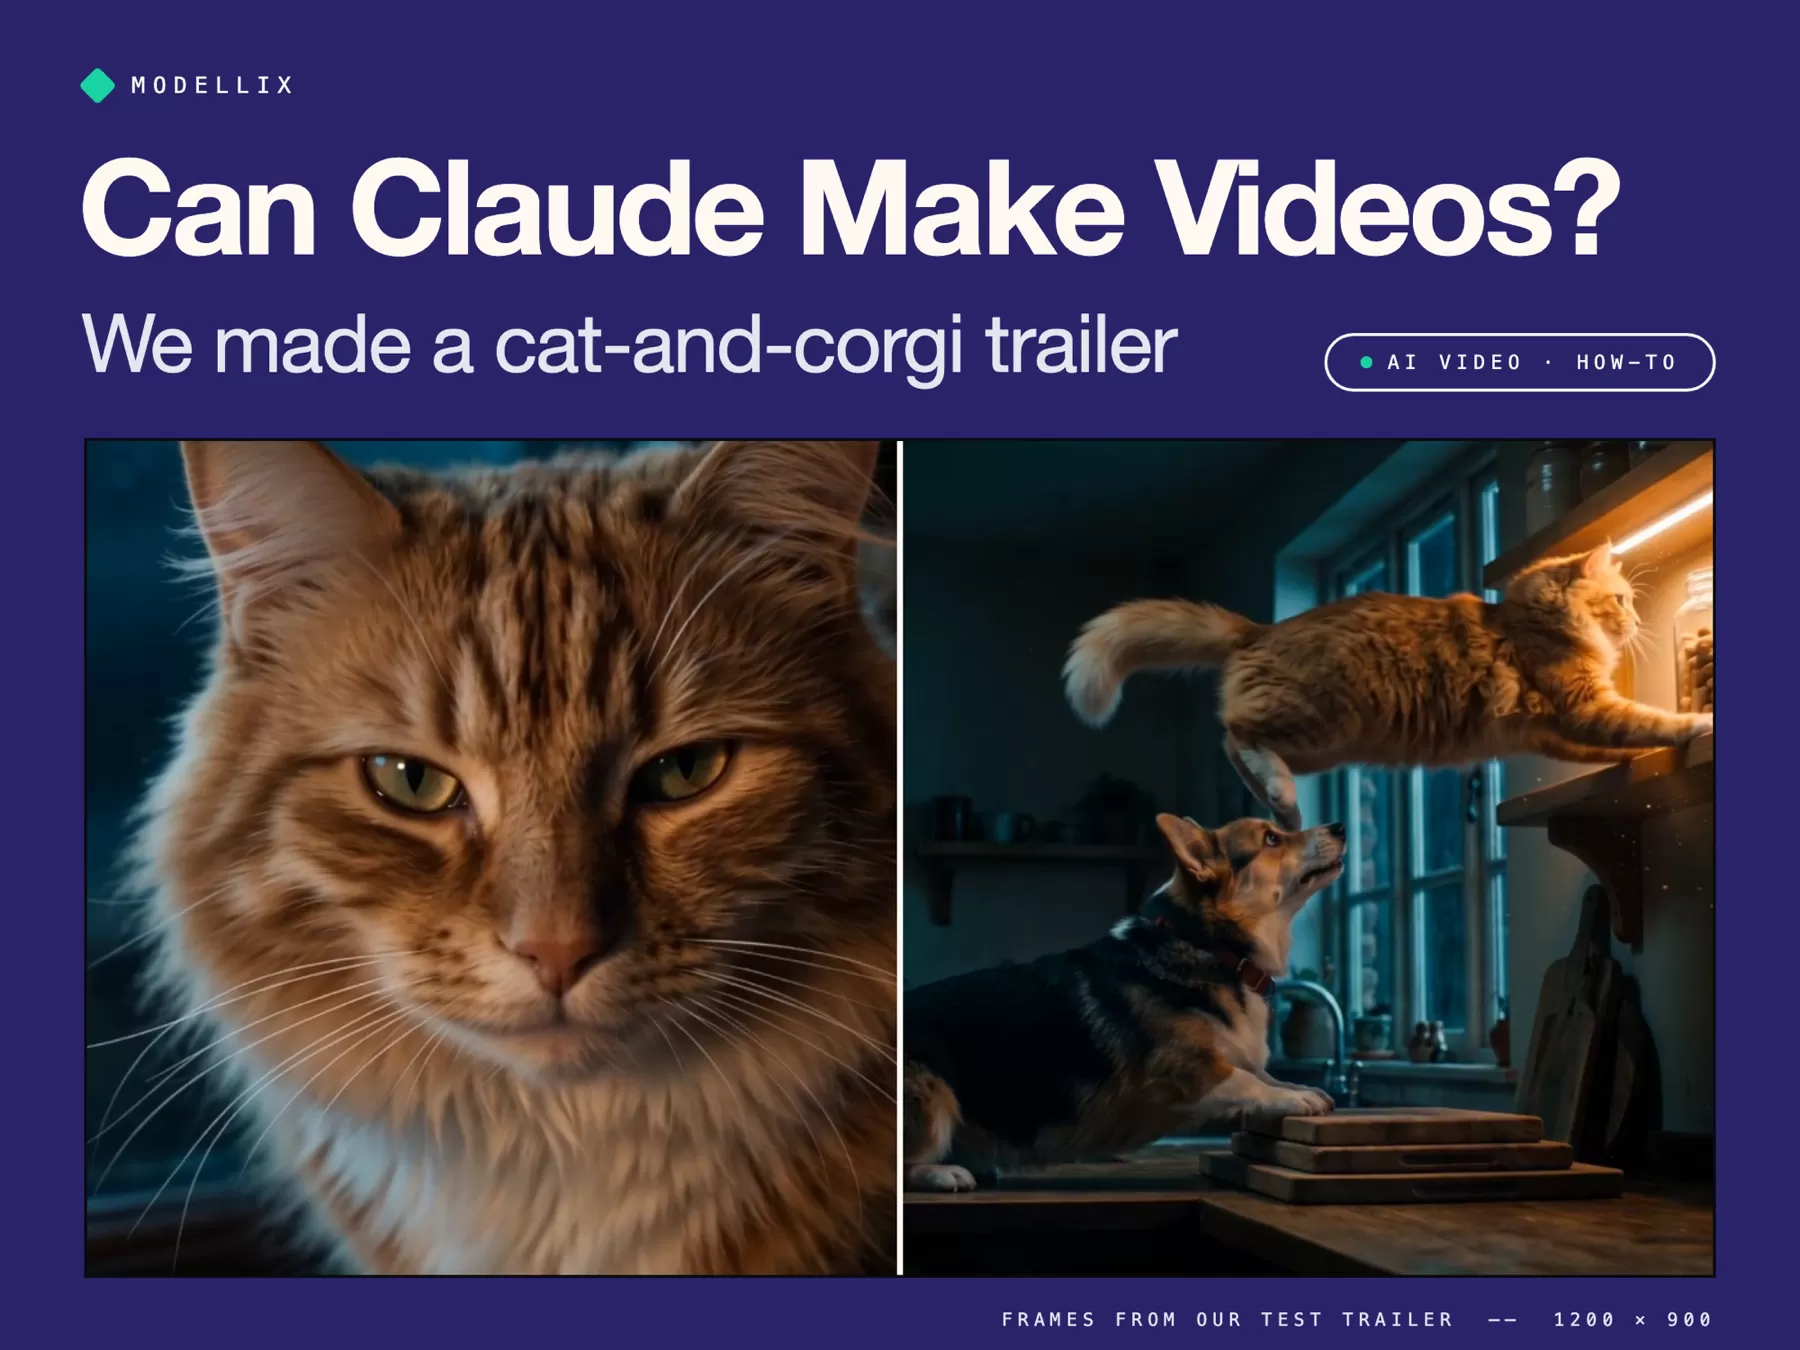
Can Claude Make Videos? 3 Ways That Work [Tested]
Can Claude make videos? Not on its own. We made a 33-second cat-and-corgi movie trailer with Claude Code: Remotion, HyperFrames, and AI video models.
AI Animation Generator [No Code]: 4 Ways, Free to 4K
An AI animation generator turns one sentence into 2D cartoon, claymation, or 3D animation. Compare 4 ways, from free apps to an API, with real clips.

AI Anime Video Generator [Full Guide]: Free vs Paid vs API
Make anime with an AI anime video generator: 4 ways from free apps to an API, anime style recipes, character consistency, and a Seedance fight test.
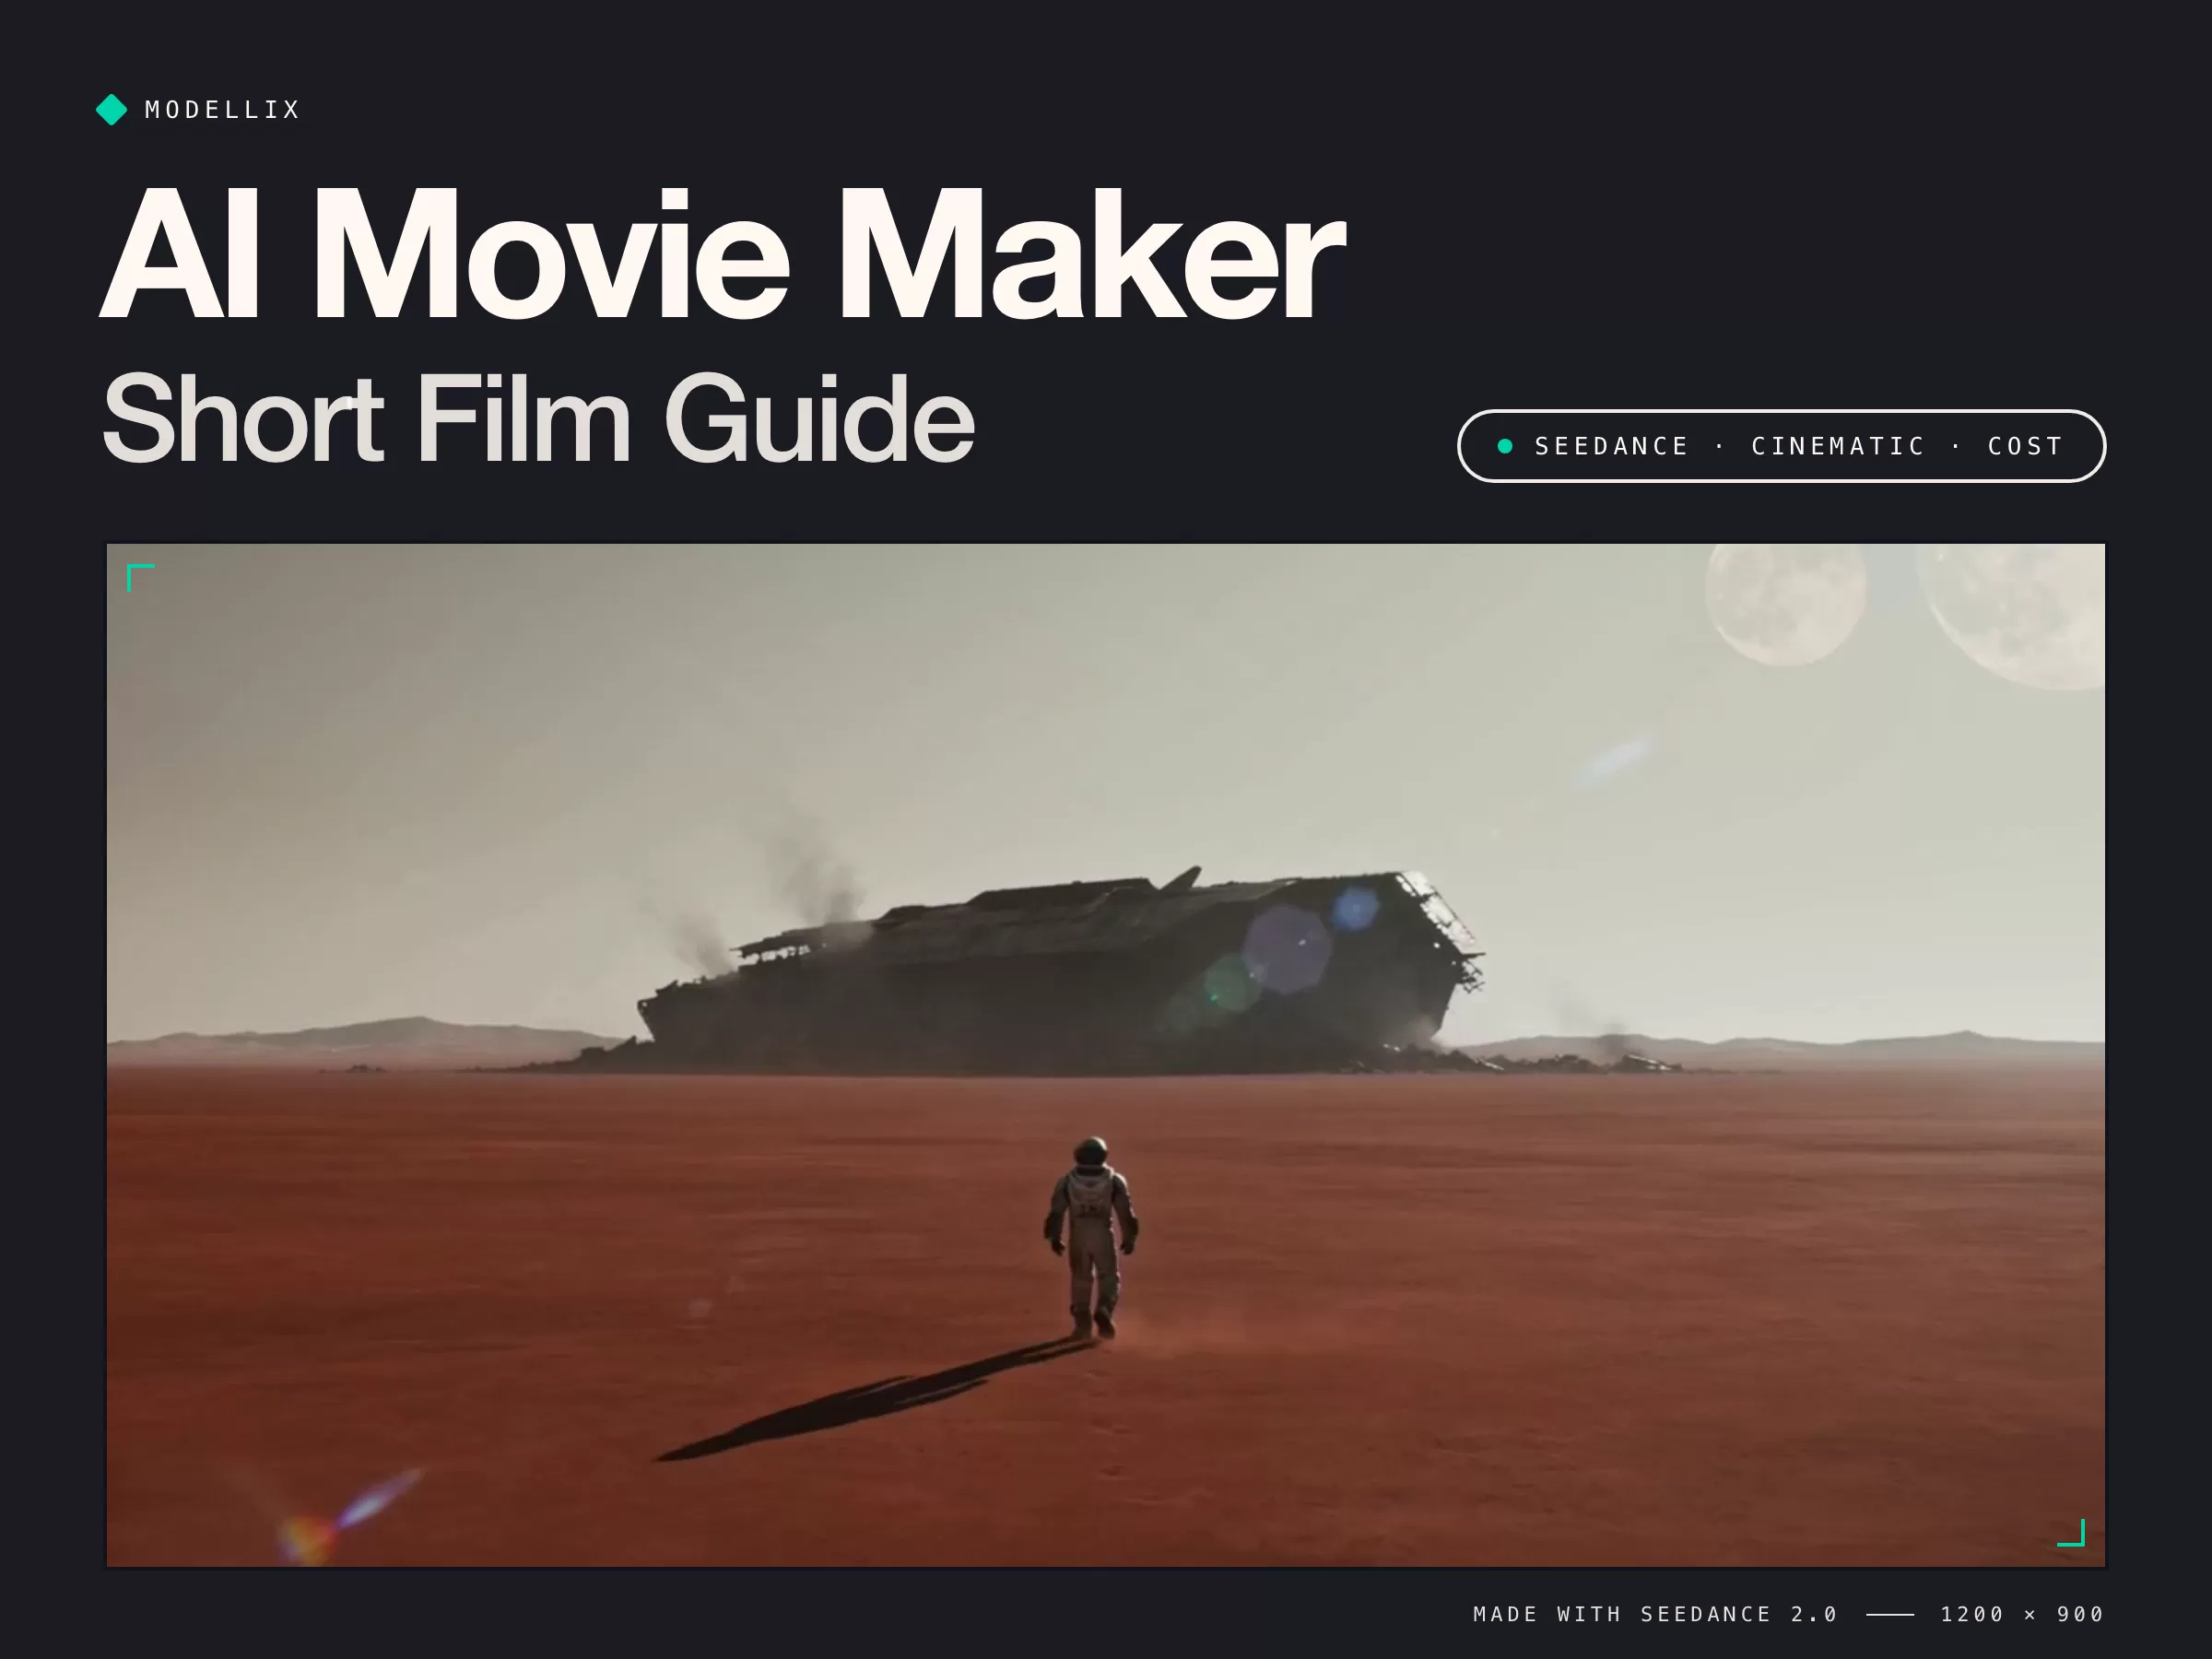
AI Movie Maker [No Code]: Make a 30s Trailer for Under $10
Use an AI movie maker to go from script to screen: write a shot list, generate shots, keep continuity, and add sound, with real shots and costs.