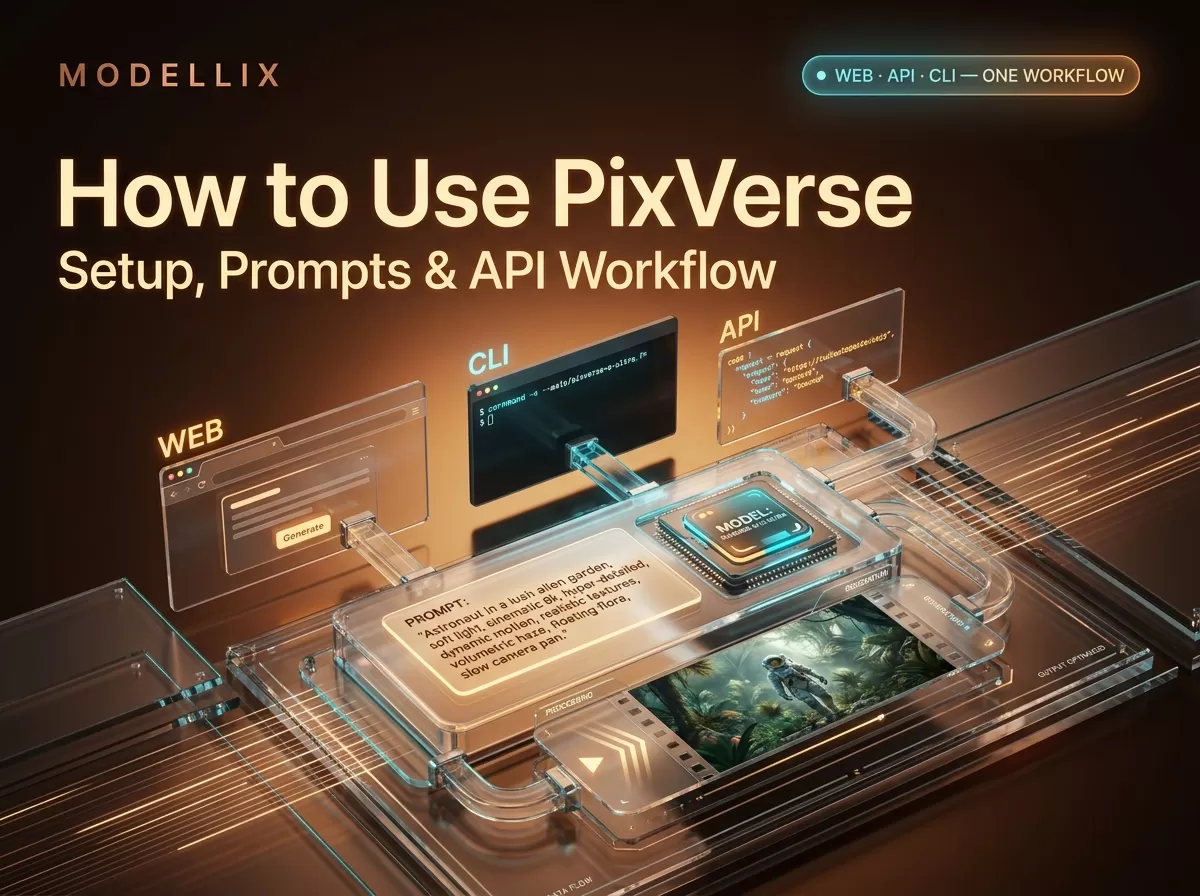
The first question “how to use PixVerse” usually answers is not about prompts — it is about which PixVerse you mean. PixVerse is a web app for creators, an API platform for developers, and a terminal CLI for automation. All three share the same generation loop: describe what you want, pick a model, set resolution and duration, generate, and iterate. As of August 2026, the default model on the web app is V6, with C1 and R1 alongside it, and the free tier starts with a limited trial balance.
This tutorial covers the paths in that order: the web app for your first video, prompts that reliably produce usable clips, the API workflow for programmatic use, and the failure cases that cost people the most time. Prices and credit costs below were read from official PixVerse pages on August 4, 2026 — PixVerse iterates quickly, so treat anything version-specific as current as of that date.
How to use PixVerse on the web app
The web app at app.pixverse.ai is the fastest path to a first video. You do not need to install anything: it runs in the browser, and PixVerse publishes official Android and iOS apps linked from the PixVerse homepage for phone use.
Step 1 — Create an account and check your trial balance. Sign in with an email or social account. The app shows a free trial counter (“3 Free Trial Left” was visible in the current UI) — PixVerse does not publish a universal free-tier policy on its public pages, so the exact number of free generations depends on what your account sees. Generate a first clip before paying to confirm the workflow works for your use case.
Step 2 — Pick a model. The current app defaults to PixVerse V6. V6 is the flagship text/image-to-video model; C1 is PixVerse’s newer cinematic full-stack model; R1 is the real-time interactive model. For a first test, keep the default. The official PixVerse homepage describes the lineup as V6, C1, and R1, so anything you read that is anchored to V5 is describing an older product generation. On PixVerse’s own ELO comparison, V6 is positioned against Veo, Kling, and Sora-class models — useful context, but not a ranking you need to trust before your first clip.
Step 3 — Write a prompt or upload an image. Text-to-video takes a prompt; image-to-video takes an image plus a prompt that describes motion. The official API guide recommends keeping prompts between 25–200 words, and that range is a good guideline for the app too — short prompts produce generic motion, and prompts longer than 200 words are harder for the model to hold together. Structure a prompt as: subject, action, environment, camera, and lighting. Example: “A red sports car drifting on a wet mountain road at dusk, camera slowly orbiting the car, cinematic lighting, reflections on the asphalt.”
Step 4 — Set resolution, aspect ratio, and duration. The current web UI exposes resolution from 360p to 1080p, aspect ratios including 16:9, 9:16, and 21:9, and durations of roughly 1–15 seconds. Higher resolution and longer clips cost more credits, so for iteration use 720p or lower and a short duration; render the final at full quality once the prompt is right.
Step 5 — Generate and iterate. Submit the task, wait for the render, and treat the first output as a draft. The fastest workflow is: generate, look at what failed (motion, subject fidelity, lighting), adjust the prompt in one dimension at a time, and regenerate. Off-peak mode and seed controls are available in the current UI when you want cheaper batches or reproducible results.
Step 6 — Extend, upscale, or lip-sync when needed. Beyond plain generation, PixVerse offers effects such as extend, restyle, swap, and lip sync from the same interface, plus a character feature for keeping a consistent character across clips. Lip sync takes an existing video plus an audio track and syncs the mouth to the audio — that is an input feature, not audio generation. For a tour of the full generator surface, our PixVerse video generator walkthrough covers text-to-video, image-to-video, and the effect workflows in one place.
PixVerse prompts that actually work
The single highest-leverage skill in PixVerse is prompt construction, and the “pixverse prompts” search intent is served mostly by prompt galleries rather than by a usable method. The method is simple: the official text-to-video API guide recommends keeping prompts between 25–200 words, and the generation request accepts a negative_prompt field, which most app users never touch.
A working prompt template for PixVerse V6:
| Prompt part | What to write | Example |
|---|---|---|
| Subject | What is in frame, specific | “a woman in a red coat” |
| Action | What moves and how | “walking toward camera, coat blowing in wind” |
| Environment | Where it happens | “empty train station at night” |
| Camera | Shot and movement | “slow dolly-in, shallow depth of field” |
| Lighting / mood | Look and feel | “neon signs reflecting on wet floor, moody” |
Full example: “A woman in a red coat walking toward camera through an empty train station at night, slow dolly-in, shallow depth of field, neon signs reflecting on wet floor, moody cinematic lighting.”
Two practical rules: describe motion explicitly (static descriptions produce static video), and use the negative prompt for things you do not want — blur, extra limbs, unwanted text. PixVerse’s V6 is built for “cinematic control and physics simulation” per the official product page, so prompts that describe realistic motion and camera behavior get more of that budget than prompts that just list objects.
How to use PixVerse API: the submit–poll–retrieve loop
For developers, “how to use PixVerse” means the API, and the API has one consistent pattern: submit a generation task, poll its status, retrieve the finished video. The official docs describe exactly this workflow, and the API documentation is the authoritative source for parameters and limits.
Step 1 — Get an API key. The official how-to-get-an-API-key guide walks through: log in to the platform, open the API key management page, create a key with a descriptive name, and copy it — the key is shown only once. The key goes in the API-KEY header, and every request needs a unique Ai-trace-id; reusing the same trace id does not generate a new video.
Step 2 — Submit a generation request. The text-to-video endpoint is POST https://app-api.pixverse.ai/openapi/v2/video/text/generate. A minimal request body looks like this:
1 | { |
The response returns a video_id. Generation is asynchronous — the video does not exist yet at this point.
Step 3 — Poll the status endpoint. Use the video_id to query generation status. Per the official docs, while a video is processing (status 5), poll at intervals of 3–5 seconds. Status 1 means the video is ready, and the response then contains the url to download or stream it. Status 7 means the request failed review and 8 means generation failed.

Figure 1: The PixVerse API generation loop — submit a task, receive a video_id, poll status until it reaches 1, then download the finished video. Diagram generated from the official API workflow documented on August 4, 2026.
Step 4 — Handle credits and limits. The API runs on PixVerse Platform credits, not on Modellix pricing — the two are separate billing systems and should not be mixed up. The official pricing page lists V6 costs in credits per second: for example 720p with audio is 12 credits per second, 1080p with audio is 23 credits per second. When a Fusion request includes video references, those rates double (24 and 46 respectively) per the official integration guide. Check your account balance via the balance endpoint before long batch runs.
Step 5 — Use the result in your product. The returned URL is a direct download link; download it or stream it into your pipeline. For production workloads, PixVerse supports webhook integration to avoid polling, and a rate-limit policy applies to API keys.
Modellix is an API aggregator and has a commercial interest in this comparison. We host PixVerse models such as pixverse/v6-r2v behind our unified API with per-second USD pricing — but the point of this section is clarity, not a claim that any single route is cheapest. If you want endpoint-level detail, our PixVerse API integration guide covers authentication, polling, error codes, and production patterns end to end; live per-second rates for the models we carry are on the V6 R2V model page.
Web app, API, CLI, or aggregator: which path fits?
PixVerse is not one product, and picking the right path matters more than prompt skill for most teams:
| Path | Best for | Watch out for |
|---|---|---|
| Web app | Creators, one-off videos, testing prompts visually | Manual; no programmatic control; per-generation credits |
| API (direct) | Products that need video inside their own UI | You manage keys, trace ids, polling, quotas, and review failures |
| CLI | Local automation, batch jobs, agent workflows | Requires Node.js 20+ and a subscription; terminal-first |
| Aggregator API (e.g. Modellix) | Teams already using several model providers | Pricing and model coverage differ per provider; check the model page |
The CLI is PixVerse’s own terminal tool (npm package, OAuth login, commands such as pixverse create video --prompt "A sunset over ocean waves" --model v6 --quality 720p --duration 5 per the official CLI announcement). It suits developers who want generation inside their existing tooling — check pixverse create <mode> --help for the current flags, since the CLI updates continuously.
For teams that already call other image and video models through one API key, an aggregator removes a second integration surface. Modellix carries PixVerse models alongside 210+ other image/video models from 12 providers behind a single REST API, with per-call pricing — see the PixVerse provider page for the current catalog. That convenience is real, but it is a routing decision, not a quality claim: the model that runs is PixVerse’s model either way.
When PixVerse is not working: common failures
The most common “PixVerse is not working” reports fall into a few repeatable buckets:
- Video stuck in “Generating” or processing. Generation is genuinely slow at high resolutions; on the API, a status of
5is normal processing and you should poll at 3–5 second intervals rather than hammering the endpoint. The official FAQ treats requests stuck in generating as something to check systematically (request identifier, concurrency limits, account balance) rather than resubmit blindly. - Request failed review. Both the app and the API apply content moderation. Status
7on the API means the request failed review, and the official docs confirm failed-review requests get their credits refunded. Adjust the prompt and resubmit. - Generation failed outright. API status
8is a generation failure. The official error-code list covers the specific causes; common ones relate to invalid parameters (bad model name, unsupported resolution, missing required field). - Credits deducted but no video. With asynchronous APIs, a generation can fail after billing. PixVerse’s API documentation states that review-failed requests are refunded automatically — check your balance history before assuming you were charged for nothing.
- Session or login problems on mobile. Use the official Android/iOS apps rather than a mobile browser wrapper. The balance is displayed per account, so make sure you are signed into the same account you used on the web app.
For API users, the official FAQ and error-code pages are the first place to check — they cover the exact error strings, which generic tutorials cannot.
Is PixVerse free? Credits and what things cost
“Is PixVerse free” is the question every PixVerse tutorial skips. The honest answer as of August 2026: PixVerse offers a limited free trial on the app, and everything beyond that runs on credits. The app shows a trial counter before any payment; PixVerse does not publish a single public “free tier” policy on the pages we could verify, so treat the trial as promotional rather than as an ongoing free allowance.
After the trial, generation consumes credits. The official PixVerse pricing page prices per second for V6:
| Quality | V6 credits/sec (no audio) | V6 credits/sec (with audio) |
|---|---|---|
| 360p | 5 | 7 |
| 540p | 7 | 9 |
| 720p | 9 | 12 |
| 1080p | 18 | 23 |
These are PixVerse Platform credits, not Modellix USD — the two systems are not interchangeable. The table above is the standard text/image-to-video rate; when a Fusion request includes video references, the same qualities cost exactly 2× (10/14, 14/18, 18/24, 36/46 credits per second), which matches the “doubles the per-second rate” rule in the official integration guide. Older models (V5.6, V5.5, V5) use per-clip credit tables instead; the pricing page shows those separately. Lip sync costs 4 credits per second of output, sound effects 2 credits per second. PixVerse also sells API subscription plans, and promotional pricing (for example, 2K MiniMax H3 clips at 50% off appeared in the August 2026 app) changes the effective cost week to week.
If you are comparing costs, our PixVerse pricing breakdown walks through the official credit system and the per-second API rates side by side. The short version: read the price off the page for the exact model, resolution, and duration you plan to use, and re-check it on the day you commit budget — PixVerse pricing has moved multiple times this year.
Frequently Asked Questions
Is PixVerse free to use? PixVerse offers a limited free trial on the app (the current UI shows a trial counter such as “3 Free Trial Left”). There is no publicly documented ongoing free tier on the pages we verified; after the trial, generation consumes credits. The API always requires a paid subscription or credit balance.
How do I use PixVerse on my phone? Download the official PixVerse app — Android on Google Play and iOS via the app link on the PixVerse homepage — and sign in with the same account you use on the web app.
Can I use the PixVerse API without a subscription? No — the API requires an API key and a subscribed plan or credit balance. The free trial lives on the app side. The official API documentation lists the prerequisites for each endpoint.
Why is PixVerse not working / stuck on generating? For web-app renders stuck for many minutes, check systematically before resubmitting — request identifier, concurrency limits, and account balance (see the failure section above). For API tasks, status 5 is normal processing — poll at 3–5 second intervals; status 7 means the request failed content review (adjust the prompt); status 8 means generation failed (check the official error-code list).
Does PixVerse add a watermark to free videos? PixVerse does not publish a clear public statement about watermarking on free-tier output on the pages we could verify. The API request body includes a water_mark boolean field, which suggests watermark behavior is configurable per request — check your account’s plan details in the app for the exact behavior.
How much does the PixVerse API cost? The API runs on Platform credits. Official V6 standard rates are 5–23 credits per second depending on quality and audio (10–46 when a Fusion request includes video references), and PixVerse also sells API subscription plans. Always confirm the current number on the official pricing page.
What is the difference between PixVerse V6, C1, and R1? V6 is the flagship generation model and the current web-app default; C1 is PixVerse’s cinematic full-stack model; R1 is the real-time interactive model. For text/image-to-video work in mid-2026, V6 is the safe default. Our PixVerse V6 guide covers what changed in V6 in more detail.
Provider details and pricing reflect public information as of August 2026 and change frequently. Validate against each provider’s live pricing before committing. Access image and video models, including the leading Chinese models, through a single API key at modellix.ai.